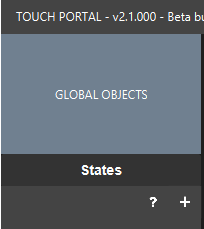
If we want to use functionality that goes beyond just an ON and OFF state of a button we need to make use of the custom states in Touch Portal. Custom states are object which you can assign a value to. The difference with the ON and OFF state is that you can use the object for as many states as you require.
Let's make our custom state for our 3-state-toggle, press the plus button on the custom states section to create a new custom state:
Now fill in the custom state fields like below. This will create a custom state with a the name "Advanced Toggle State". We will use this later on in our flows.
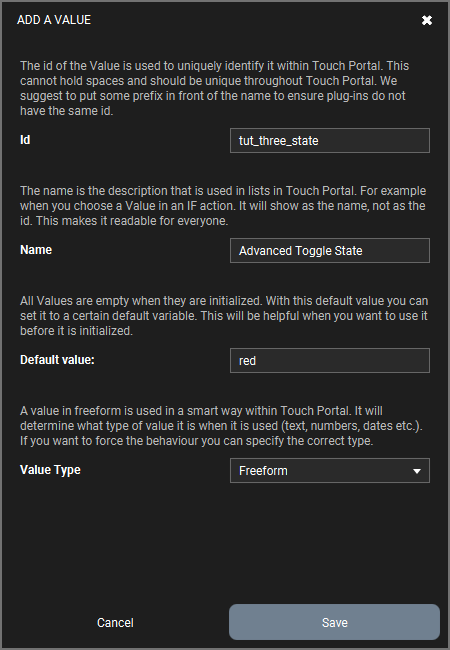
Click on "Save" to save the custom state.
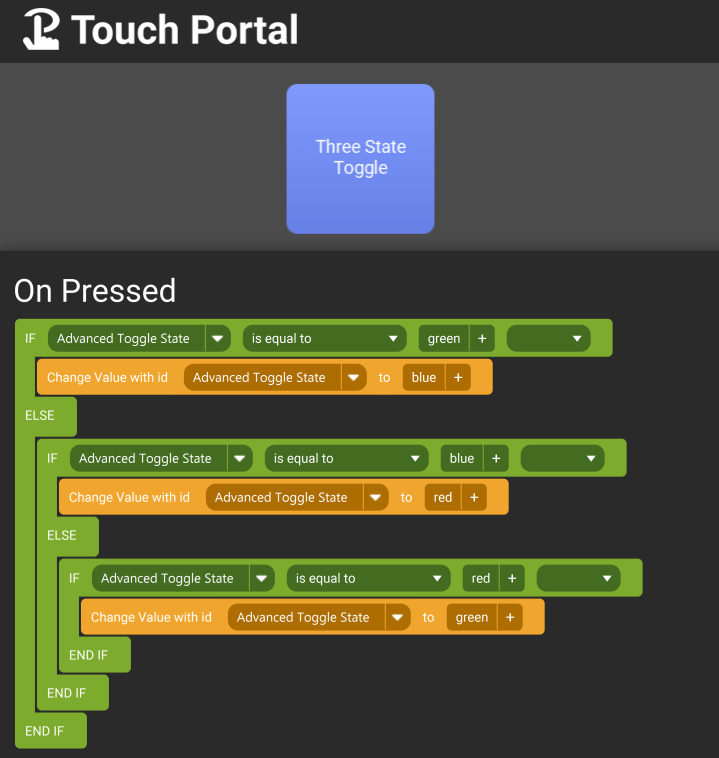
To toggle between 3 states it gets a bit complex but we need to check the state and then change the state to another one in a logical order. In the image below we change the state from GREEN to BLUE, from BLUE to RED and from RED to GREEN. We use nested IF statements so that we ensure the state is only changed one time when you press the button.
The events tab is a bit more familiar. We just add an event that listens to a custom state change. In our case we just listen for the created state and act according the value of that event. So in our case it will change the button to red when the state value is "red". The same goes for blue and green.

If you press the newly created button a few times you should be toggling between the states "red", "green" and "blue". The background should change to the color of the state.